READING THE BIBLE IN 1 YEAR: Deuteronomy 28

READING THE BIBLE IN 1 YEAR - Deuteronomy 27

READING THE BIBLE IN 1 YEAR: Learn lessons about Kindness

Generosity and Divorce are themes as we Read the Bible this year

READING THE BIBLE IN 1 YEAR: Deuteronomy 22

Reading the Bible in 1 Year: History of the Children of Israel

The Nation of Israel - Reading the Bible in 1 Year

Showing posts with label Batman. Show all posts

Saturday, October 29, 2016


HERE’S TO A SUPER HALLOWEEN


I don’t know about you but I LOVE Halloween. How many other days in the year can you get free candy and sweets simply by asking?

And, dressing up and decorating is like being a star in a movie. You can create the character you want to be and make your own setting. What could be better than that?

So for this year, I’m planning a SUPER Halloween, with heroes at my doorstep. And it’s simple to make this dream come true…with a little paint, time and patience.

Here’s how I’m doing it.
First I started by sketching on some pumpkins. Don't worry if you make mistakes, the paint will cover that:


Then I paint them

And, my theory is one is never enough...
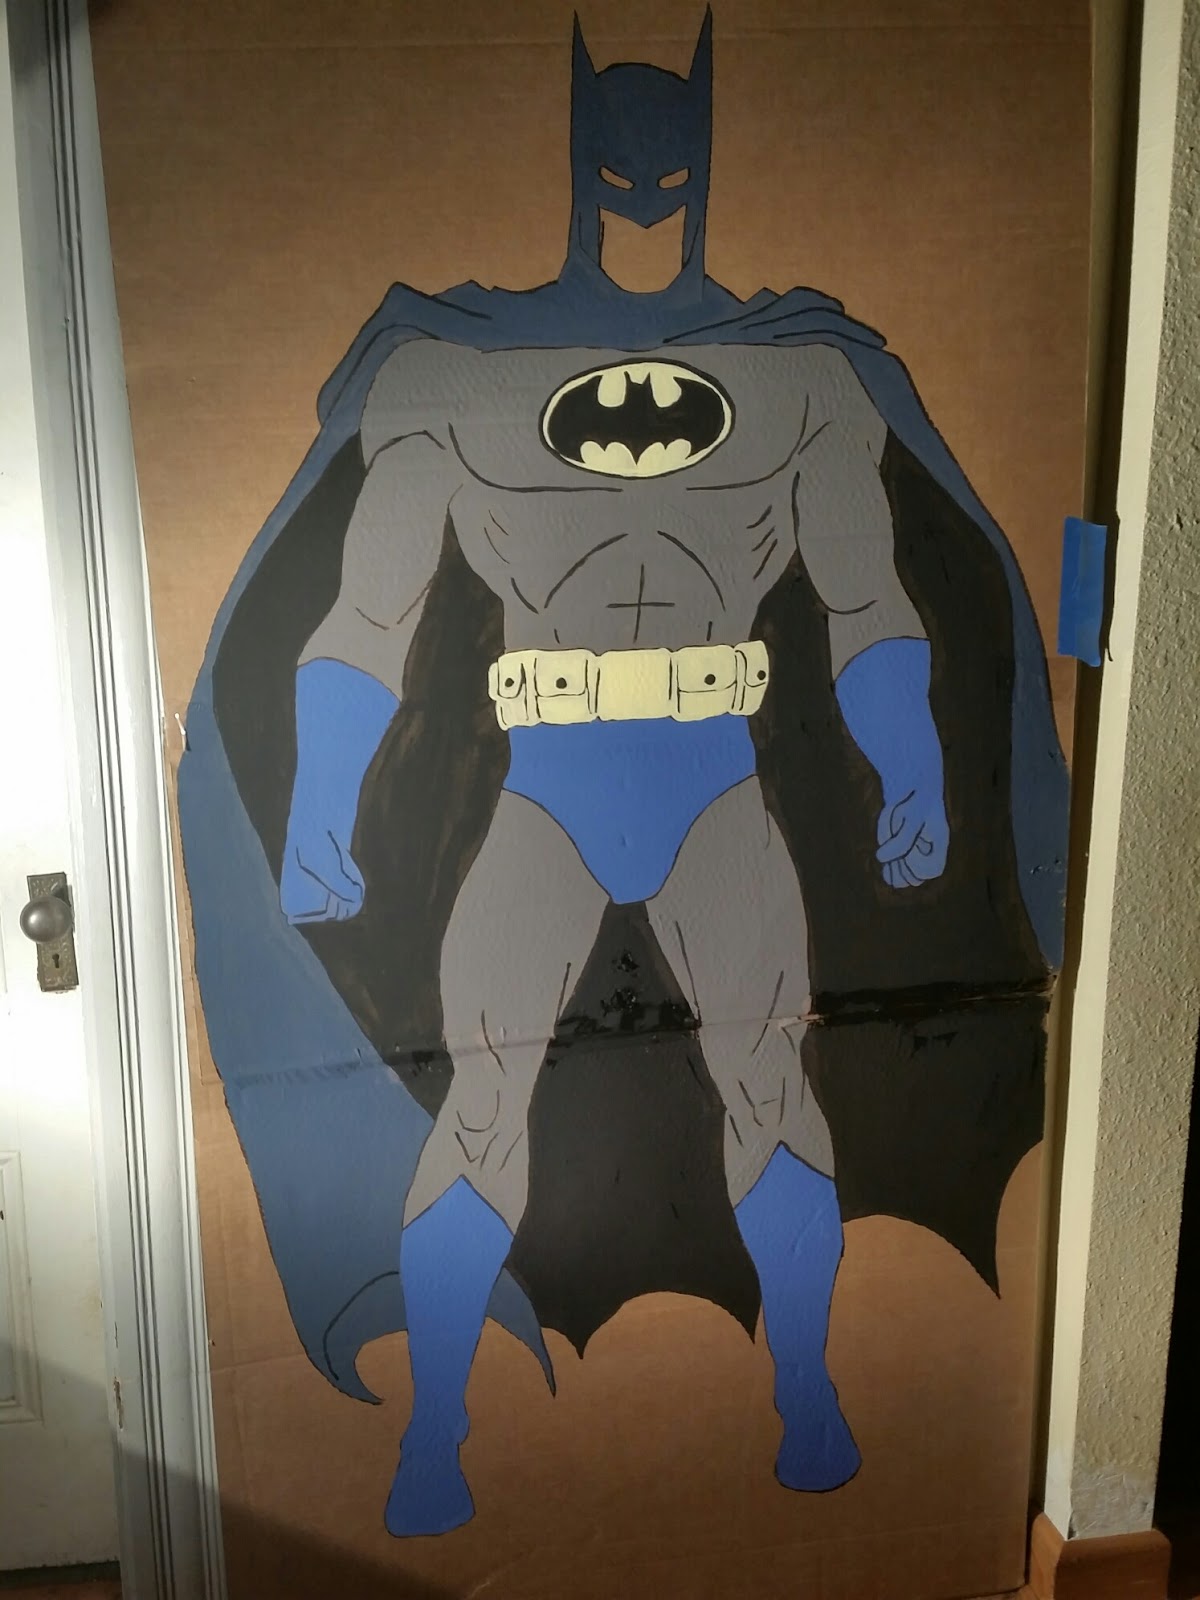
Then I started  on some  standups
You do the same thing as with the pumpkins. First sketch the character then paint

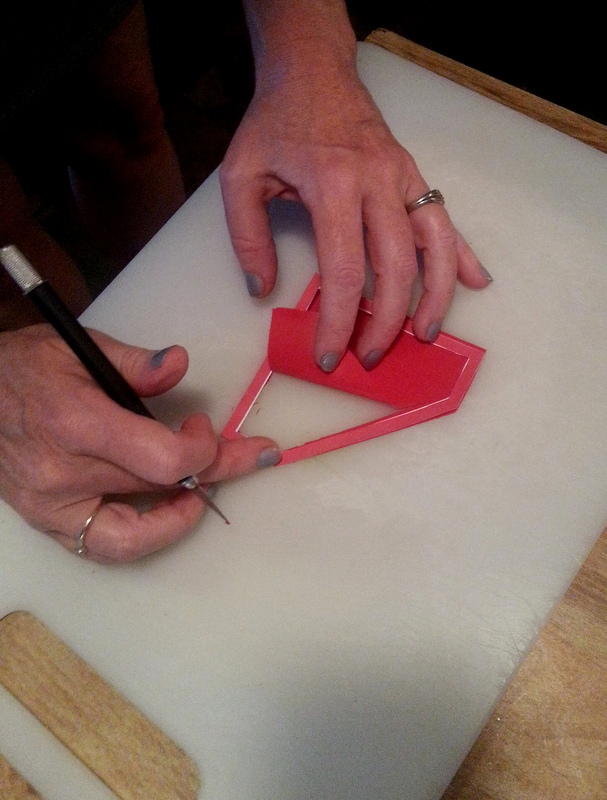
Then I had to make my costume. First I went to the fabric store to find some material on sale...

This was going to be a simple skirt with an elastic waist. So I fit it to me and then cut it out. Next,  I ironed the seams to make sewing easier.
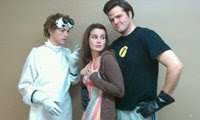
And all I  needed  was  some gold duct tape to make my fingerless gauntlets, crown and shirt (which I used a running tank top for)
The gauntlets were simply plastic drinking cups after I cut off the bottoms


My lasso of truth was a strip of cording I bought at the fabric store and duct taped to my shirt.

It was all SUPER simple ;D

I hope you have a SUPER Halloween too ;D

Sunday, September 1, 2013

The World's Finest - Superman and Batman Cakes

My kids may be grown up...but I never will.

I wanted to make them each a superhero cake but they don't like fondant or sugary frosting so I used whipped cream and sugar sheets. Here's how I made them:

First I had to bake the cakes and then I cut off the tops to make them even.

Then I put whipped cream and homemade blackberry jam in-between the layers.

Then I put whipped cream all around the top and sides.

Then I started on the designs. First I had to google the superhero emblems to get it right and I printed them out so I wouldn't forget.


Then I cut out the iconic emblems and held them up to the sugar sheets to make sure I cut them out properly.

I laid them on wax paper so they wouldn't stick to anything. I needed to create the emblems in layers.


I used an exacto knife to get the lines right and I cut the sugar sheets out on a cutting board so I wouldn't cut into the table.

After I created all the emblem pieces, I used frosting to piece them together (frosting is the glue that holds them in place).

Then I put them on the frosted cakes.

But they still needed some embellishments: licorice and candy.

I always keep wax paper underneath the cakes so I can transfer them easily to the cake stands. After I have them positioned on the cake stands, I use candy around the edges to make it look like clean lines.

I made a few mistakes while I was making these cakes. Here's my tips so you won't make the same errors:

1) Make sure you measure the top of your cake against the emblems you're going to put on top. I made mine too big and had to cut them down to size so they would fit properly.

2) Count out your candies so you are sure you have the proper count of black to red...I had to skimp and scrimp to cover the edges.

3) Don't cook your cakes until the tester comes out clean - they are over done if the toothpick comes out clean. Leave them a little damp, they continue to cook for a few minutes after you take them out of the over and there is nothing worse than dry cake. (I didn't make this mistake - but it's easy to do).

In the end, I thought they turned out cute...even if they are a little kidish for a 29 and 25 year old ;D


Tuesday, October 9, 2012

How to Make a Tank Top

We have the Run Like Hell Halloween Theme Run coming up. It's a benefit for ALS and we've been working on putting our costumes together. This year it's a Super Hero Theme and we're planning on Batman as our theme.

My hubby is going as the Riddler, I'm thinking of Poison Ivy and my sis is going to be either Catwoman or Robin.

Anyway, when you're wearing a costume for a run you have to remember not to over dress or you'll get too warm. So, my husband asked me if I could make the tee-shirt we were using for his Riddler attire into a tank top.

I thought, "How hard could it be?"

So I took one his favorite, old, worn out tank tops and used it as the pattern.

I used a sharpie to sketch the patten onto the tank top and cut it out (remember to allow for a seam allowance--I forgot).

Then I stitched up the raw edges. Soon we'll stencil the question marks on the shirt but this was the first step in the process.

Here's a pictorial history of how I did it.


I'll post the next step this week.