
So anyone who knows me, knows I love holidays. I love to decorate for all of them. I might even decorate for Ground Hogs Day, if I could think up something cute and fun enough to spend my time making the decorations because decorating does take a little time.
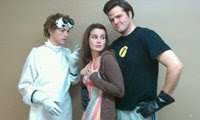
And, one of my favorite holidays to decorate for is Halloween. This year I thought, "How would Lars and I like to dress up ...?"
Quickly, Thor popped into my head and Sif wasn't far behind. I thought, "that should be EZ-Smeazy to do".
First I needed a couple of capes but I didn't have a pattern sew I thought - again - "that should be EZ enough."
I pulled out some butcher paper and started sketching what I was thinking. Then I cut out the fabric, leaving a little extra fabric for the seams...just in case.

Of course the Nordic people live in a cold climate so I figured we needed a little fur to keep us warm.
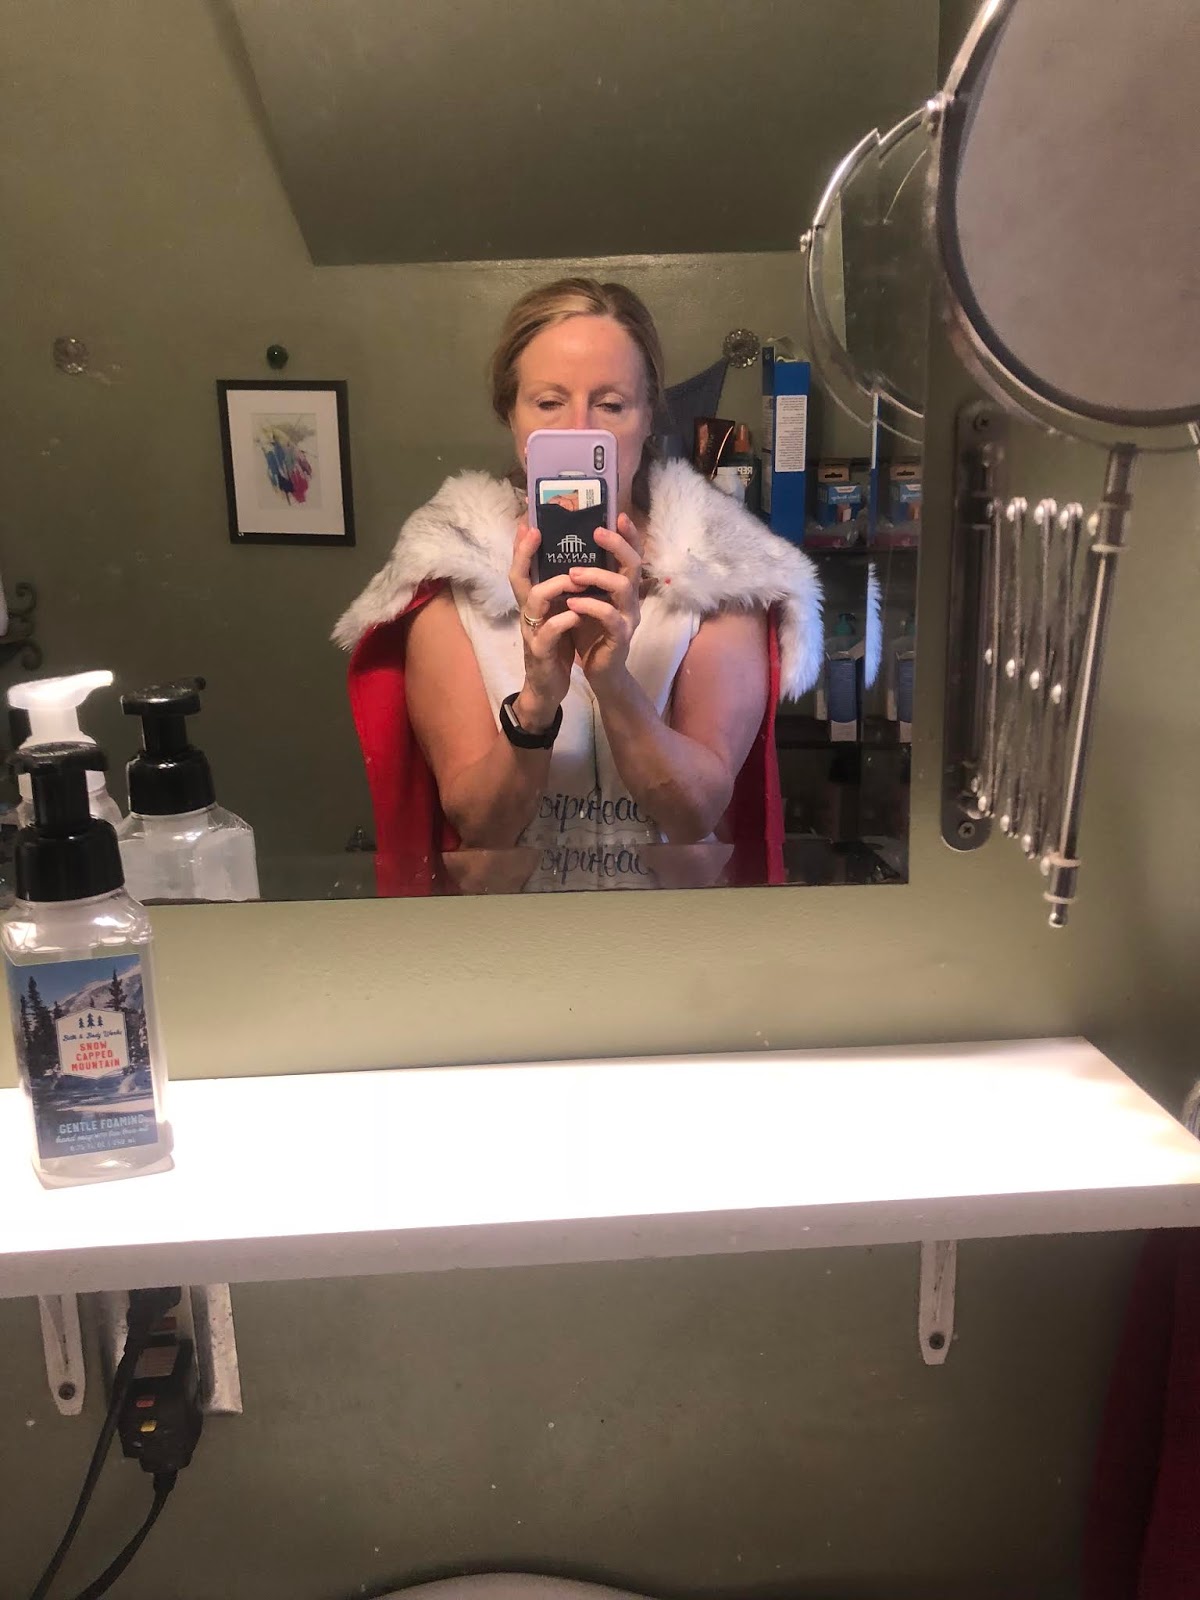
But I only bought one-fourth of a yard because that fake fur is expensive ($60 a yard). I figured $15.00 was plenty to spend on an accent. But even thought it was expensive for only a touch of the fur fabric, I think it was worth it because that fur added a lot. Luckily, the fleece for the capes was only $5.00 a yard and I had a coupon for Joann Fabric and Craft so the capes only cost me about $10 a piece to make. Then I needed some armor and there was no way I was going spend any money on metal I'd use once.


So, I bought this cosplay fabric also at Joann Fabrics. It was spendy too but of course I had another coupon. Still, I had to spend $30.00 for the material but split between two costumes it was only $15.00 a piece and I thought that was reasonable enough.


Then we needed a few accessories...like a hammer, which Lars made using some Styrofoam and a dowel.

Then he painted it and added some tennis racquet tape to the handle.

Still, it seemed a little one-note in color, so he dry-brushed some black paint on the "stone" and touched up the edges with a faint hint of gold to give it a three-dimensional effect. Still I needed a shield and a sword. So I took a floor tile and with a little help from my son and his heat gun, I had the beginnings of a shield.


I added some embellishments that I stuck right into the thick foam and with a little paint and a handle (that I duct-taped on the back), I had a shield. Then, the morning of the party, I asked Lars if he could make me a sword. "No problem," he said. I've got some extra 1X3 CVG (clear vertical grain) out in my shop. And, lucky for me, he can make things fast.


I still wanted some wrist guards and I used some leather-look-alike ribbon with studs on it and simply sewed some snaps on the edges of the ribbon. I think that ribbon gave a neat effect.
And then there was the hair that needed styled. Thanks to Fatina and her skilled braids we were in business.


All in all, I think this was a fun project that we really enjoyed doing together and the final effect was so much fun.


